> ## Documentation Index
> Fetch the complete documentation index at: https://docs.botbrains.io/llms.txt
> Use this file to discover all available pages before exploring further.
# Quickstart
> Get started with botBrains in minutes
Get your AI customer support agent up and running in under 5 minutes. Simply sign up and our onboarding flow will guide you through creating your first AI agent.
## Sign Up to botBrains
The only step you need to get started is to [sign up for a botBrains account](https://platform.botbrains.io). It's free to get started.
Once logged in, **the onboarding flow will automatically guide you through**:
* Creating your first project (think of it as a workspace for your AI agent)
* Adding initial knowledge from a website or help center
* Setting up your AI's behavior and instructions
* Testing your first AI agent
The onboarding takes just a few minutes and gives you a working AI agent. After that, use the steps below to expand and refine your AI.
***
## Expand Your AI Agent
Now that you have a working AI agent from onboarding, here's how to make it better:
## Step 1: Test with Real Conversations
Start by having conversations with your AI to understand what it can and can't answer.
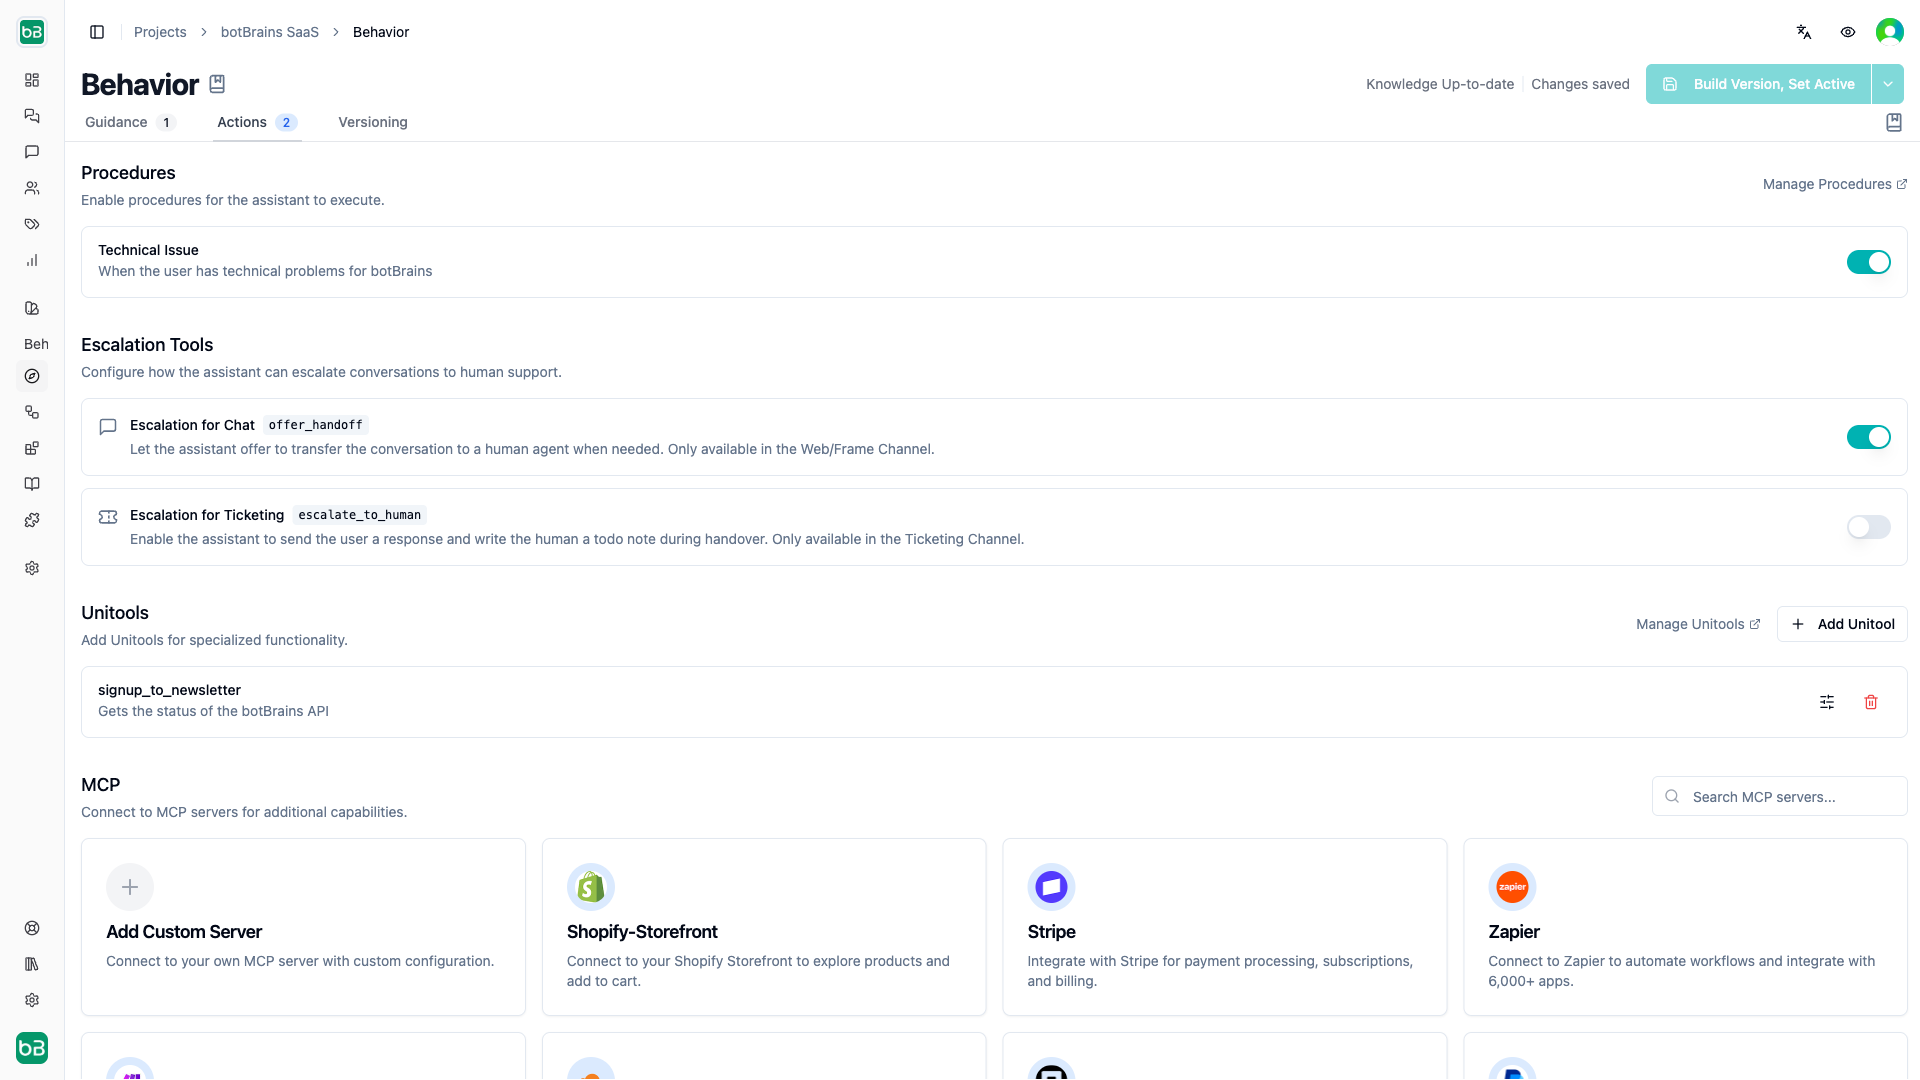
1. Navigate to **Behavior** in the sidebar
2. Look at the preview panel on the right side
3. Ask questions that your customers might ask
4. Try questions you know it should answer (based on your knowledge sources)
5. Try questions it probably can't answer yet (to find knowledge gaps)
The preview panel uses your actual knowledge sources and settings, so you're testing exactly how your AI will respond to customers.
 ## Step 2: Refine AI Instructions
Based on your testing, update how your AI communicates.
1. While still in **Behavior**, edit the instructions on the left side
2. The preview updates in real-time as you make changes
3. Test the same questions again to see improvements
Example instructions:
```
You are a helpful customer support agent for Acme Corp.
- Always be friendly and professional
- Keep responses concise and actionable
- If you don't know something, admit it and offer to escalate
- Include links to relevant documentation when possible
```
**Guidance** controls how your AI behaves. You can create multiple guidances for different audiences or use cases.
## Step 3: Add Missing Knowledge
When you find gaps in what your AI knows, add more knowledge sources.
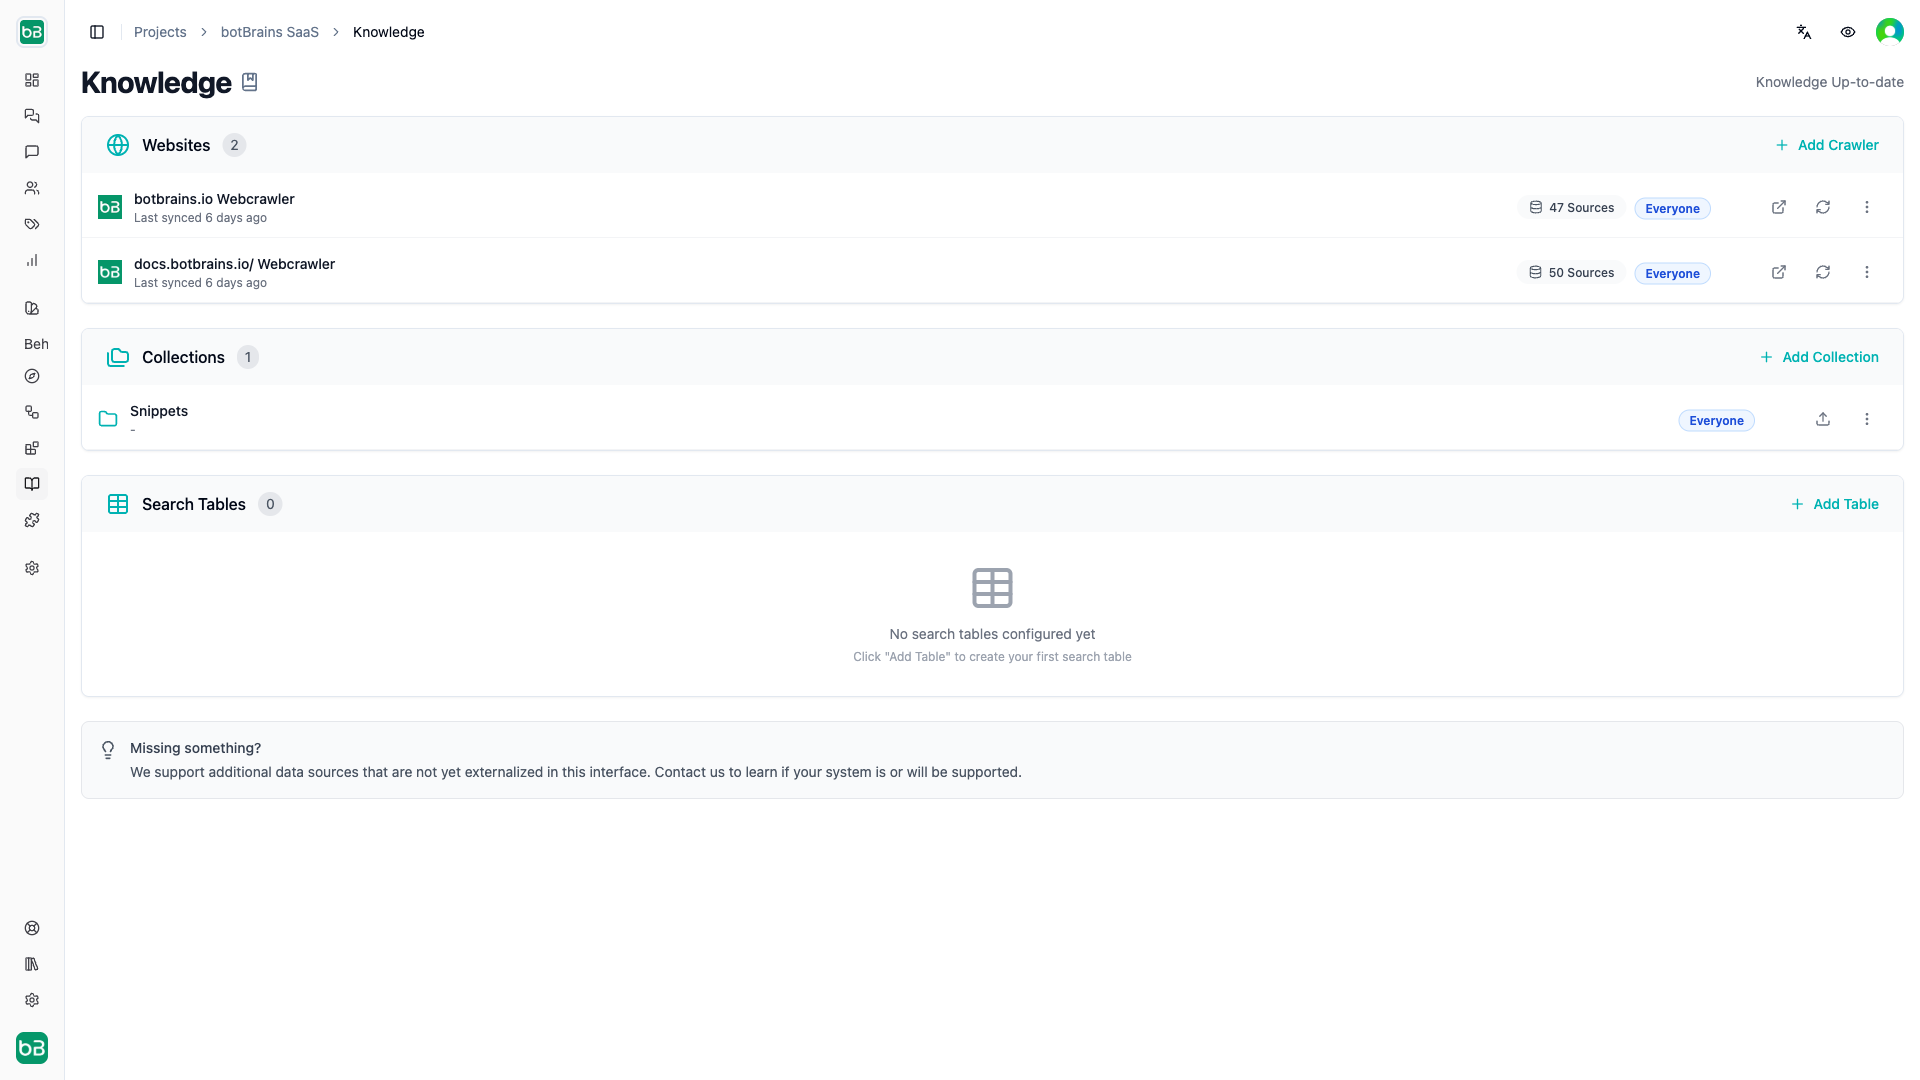
1. Navigate to **Data Providers** in the sidebar
2. Click **Add Data Provider**
3. Choose from multiple provider types:
* **Website**: Crawl documentation sites or help centers
* **PDF**: Upload PDF documents
* **Word/Docx**: Upload Word documents
* **Markdown**: Upload markdown files
* **Snippets**: Add content manually for quick additions
4. Configure and save
botBrains will process your knowledge sources automatically. This typically takes a few minutes depending on size.
## Step 2: Refine AI Instructions
Based on your testing, update how your AI communicates.
1. While still in **Behavior**, edit the instructions on the left side
2. The preview updates in real-time as you make changes
3. Test the same questions again to see improvements
Example instructions:
```
You are a helpful customer support agent for Acme Corp.
- Always be friendly and professional
- Keep responses concise and actionable
- If you don't know something, admit it and offer to escalate
- Include links to relevant documentation when possible
```
**Guidance** controls how your AI behaves. You can create multiple guidances for different audiences or use cases.
## Step 3: Add Missing Knowledge
When you find gaps in what your AI knows, add more knowledge sources.
1. Navigate to **Data Providers** in the sidebar
2. Click **Add Data Provider**
3. Choose from multiple provider types:
* **Website**: Crawl documentation sites or help centers
* **PDF**: Upload PDF documents
* **Word/Docx**: Upload Word documents
* **Markdown**: Upload markdown files
* **Snippets**: Add content manually for quick additions
4. Configure and save
botBrains will process your knowledge sources automatically. This typically takes a few minutes depending on size.
 **Start Small**: Add your most important knowledge first. You can always add more sources later as you discover gaps.
## Step 4: Redeploy Changes
If you changed instructions you need to redeploy via "Build, Set active" in **Behavior**. Because Knowledge is also versioned, you will also need to redeploy then and wait until the building toast has stopped spinning.
You only need to redeploy when you've changed instructions in **Behavior** or added new knowledge in **Data Providers**. Simple configuration changes don't require redeployment.
## Step 5: Deploy Your AI
Now deploy your AI to start helping customers. Choose the integration that matches your workflow:
Add a chat widget to your website with customizable styling.
Automate ticket responses and field predictions in Zendesk.
Handle cases in Salesforce Service Cloud with AI assistance.
Bring AI support directly into your team's Slack workspace.
## Step 6: Monitor and Improve
After deployment, continuously improve your AI:
1. **Review Conversations**: Go to **Conversations** to see how your AI is performing
2. **Check Topics**: Visit **Topics** to understand what customers are asking about
3. **Analyze Metrics**: Review **Metrics** for performance data
4. **Add Knowledge**: When you spot gaps, add more knowledge sources or snippets
5. **Refine Behavior**: Update your instructions in Behavior based on real interactions
**Iterate Quickly**: Start with basic setup and improve based on real customer interactions. Perfect is the enemy of good!
## Common Next Steps
Once you're up and running:
* **[Set up Escalations](/concepts/escalations)** - Configure when to hand off to human agents
* **[Create Audiences](/concepts/audiences)** - Personalize responses for different customer segments
* **[Add More Data Sources](/concepts/data-providers)** - Connect additional knowledge repositories
* **[Configure Triggers](/concepts/triggers)** - Automate workflows based on conversation events
* **[Invite Your Team](/concepts/roles-permissions)** - Add team members and assign roles
## Getting Help
Need assistance? Here are your resources:
* **Documentation**: Browse our comprehensive docs
* **Support**: Email [support@botbrains.io](mailto:support@botbrains.io)
* **Platform**: Use the in-app chat for quick questions
## What You've Accomplished
You've successfully:
* ✅ Created your first botBrains project
* ✅ Connected knowledge sources
* ✅ Configured AI behavior
* ✅ Tested responses
* ✅ Deployed your AI to customers
* ✅ Set up monitoring
Your AI is now helping customers 24/7. Welcome to automated customer support!
**Start Small**: Add your most important knowledge first. You can always add more sources later as you discover gaps.
## Step 4: Redeploy Changes
If you changed instructions you need to redeploy via "Build, Set active" in **Behavior**. Because Knowledge is also versioned, you will also need to redeploy then and wait until the building toast has stopped spinning.
You only need to redeploy when you've changed instructions in **Behavior** or added new knowledge in **Data Providers**. Simple configuration changes don't require redeployment.
## Step 5: Deploy Your AI
Now deploy your AI to start helping customers. Choose the integration that matches your workflow:
Add a chat widget to your website with customizable styling.
Automate ticket responses and field predictions in Zendesk.
Handle cases in Salesforce Service Cloud with AI assistance.
Bring AI support directly into your team's Slack workspace.
## Step 6: Monitor and Improve
After deployment, continuously improve your AI:
1. **Review Conversations**: Go to **Conversations** to see how your AI is performing
2. **Check Topics**: Visit **Topics** to understand what customers are asking about
3. **Analyze Metrics**: Review **Metrics** for performance data
4. **Add Knowledge**: When you spot gaps, add more knowledge sources or snippets
5. **Refine Behavior**: Update your instructions in Behavior based on real interactions
**Iterate Quickly**: Start with basic setup and improve based on real customer interactions. Perfect is the enemy of good!
## Common Next Steps
Once you're up and running:
* **[Set up Escalations](/concepts/escalations)** - Configure when to hand off to human agents
* **[Create Audiences](/concepts/audiences)** - Personalize responses for different customer segments
* **[Add More Data Sources](/concepts/data-providers)** - Connect additional knowledge repositories
* **[Configure Triggers](/concepts/triggers)** - Automate workflows based on conversation events
* **[Invite Your Team](/concepts/roles-permissions)** - Add team members and assign roles
## Getting Help
Need assistance? Here are your resources:
* **Documentation**: Browse our comprehensive docs
* **Support**: Email [support@botbrains.io](mailto:support@botbrains.io)
* **Platform**: Use the in-app chat for quick questions
## What You've Accomplished
You've successfully:
* ✅ Created your first botBrains project
* ✅ Connected knowledge sources
* ✅ Configured AI behavior
* ✅ Tested responses
* ✅ Deployed your AI to customers
* ✅ Set up monitoring
Your AI is now helping customers 24/7. Welcome to automated customer support!